
Disclosure: This post may include affiliate links through the Amazon affiliate program or other affiliate partnerships. If you click on a link and buy something, I may receive a commission, at no additional cost to you. You can read more boring disclosure details in my disclosure and privacy policy.
This DIY Dresser is one of my favorite furniture makeover’s ever. Allow me to tell you why:
- The whole project, including the dresser, cost me less than $20.
- It took me less than a day to complete.
- I was able to customize the dresser so that I have something perfect for my daughter’s nursery.
- The process is extremely easy.
If you think you aren’t cut out for this type of thing, please don’t click away! I did this while 36 weeks pregnant, so you really have no excuse 😉 But in all seriousness, this an extremely fool-proof project. Throw on a favorite podcast and just paint for a couple of hours!
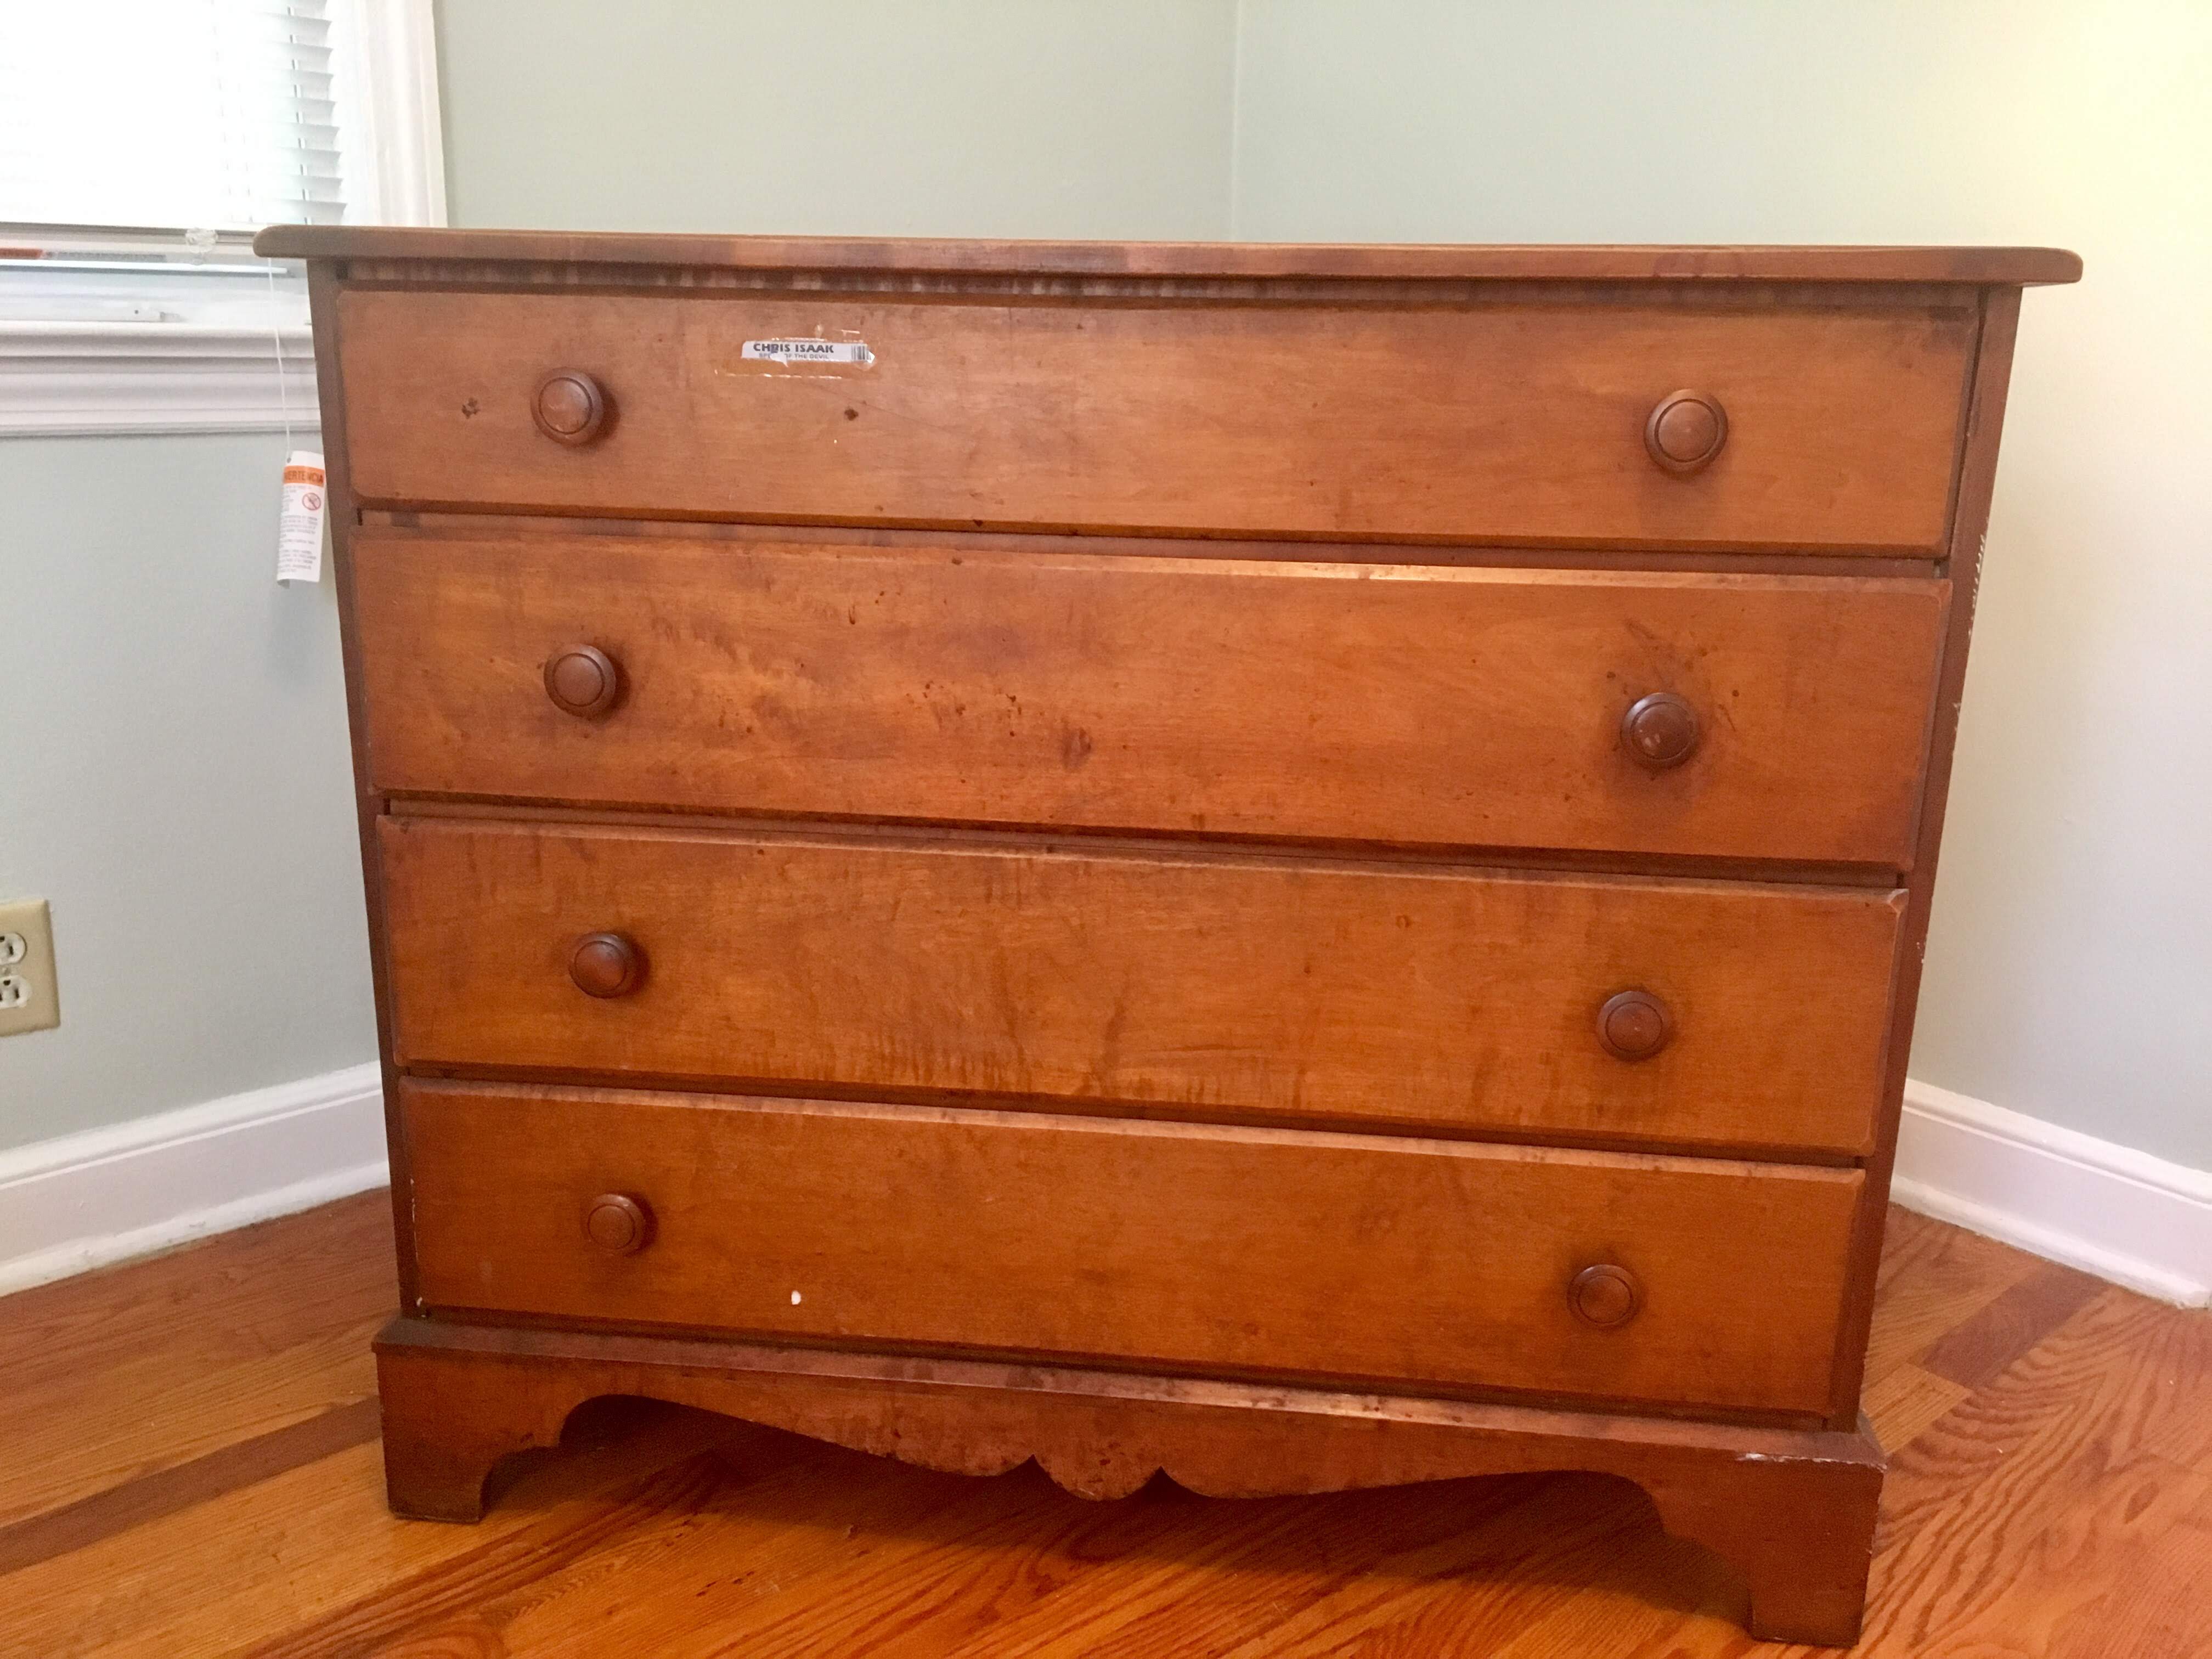
As for the dresser I used, I found it on Facebook Marketplace for a whopping ten dollars. As they say, “one man’s trash is another man’s treasure.” Don’t be afraid to buy something that other people might not think is worth anything. After a little TLC, the dresser is probably worth more than a particle-board dresser from Target or Ikea.
DIY Dresser Makeover Tutorial
Prep the Surface
To get started on the dresser, first, you’ll need to prepare it for paint.
First off, remove all of the hardware with a screwdriver.
Because the dresser I picked out was a bit neglected, it had a lot of dirt that needed to be wiped out of the drawers and off the surface.
If your dresser comes with any random stickers or chewed gum (yes, I had this pleasant surprise), be sure to scrape that off.
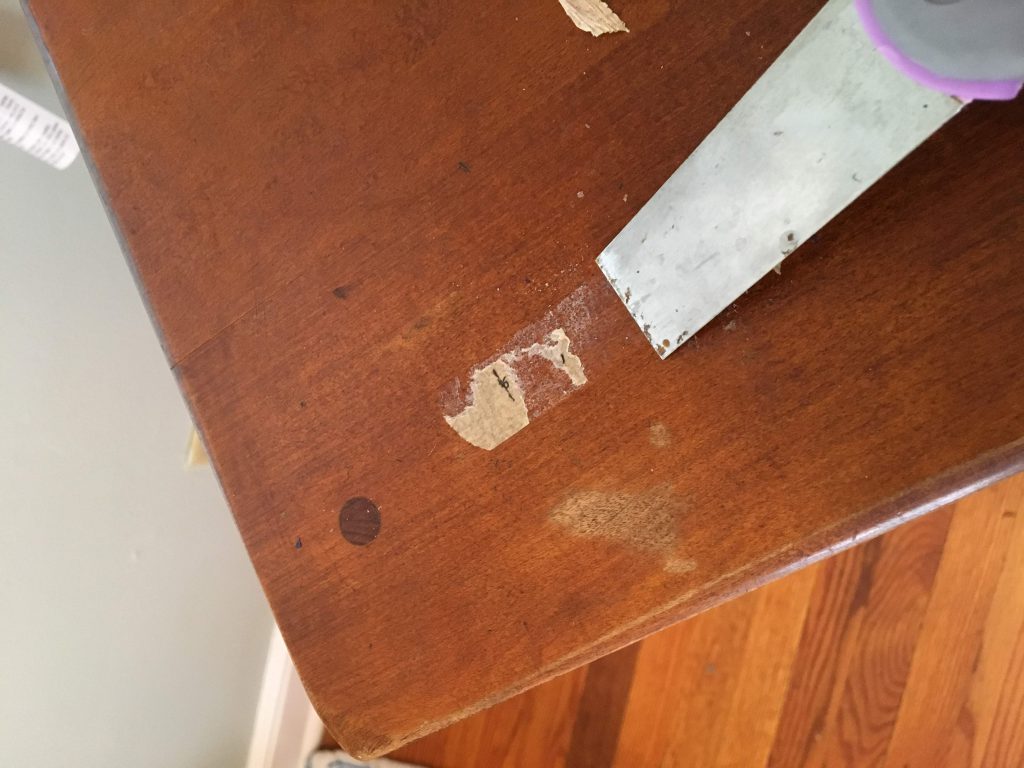
Next, you have the option of sanding the surface to help the paint adhere. This doesn’t need to be anything intense as you don’t want to rub off the stained color of the wood underneath, just enough to rough up the surface.
I actually chose not to sand the dresser, as I don’t mind when small bits of paint are scratched off after painting. I find this only adds to the distressed look. If you do decide to sand, just make sure you wipe off any dust afterward.
Dry-brushing
I’m not going to go into any crazy detail here, because you can find a thorough tutorial on dry-brushing in my other post here, but we can certainly review the basics!
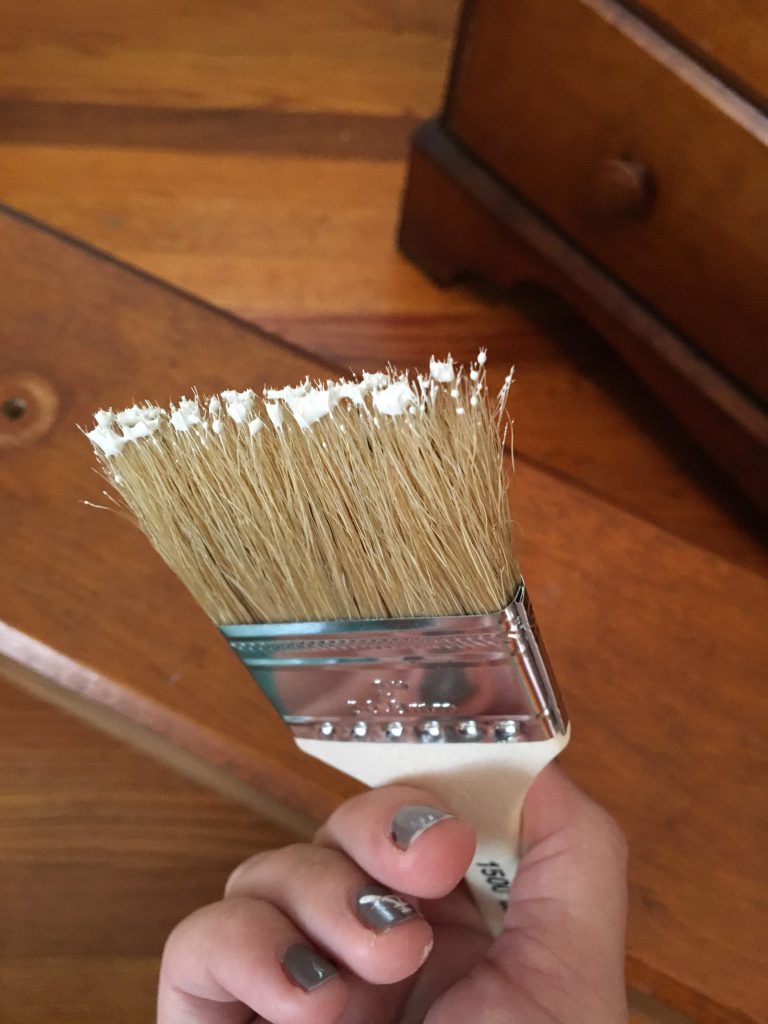
The color paint I chose was Behr’s Antique White to match the white crib in the nursery. Drybrushing uses so little paint, you only need a sample size. The other important object is, obviously, the paintbrush (preferably one you don’t mind throwing away, as sometimes the paint dries into the brush during the process).
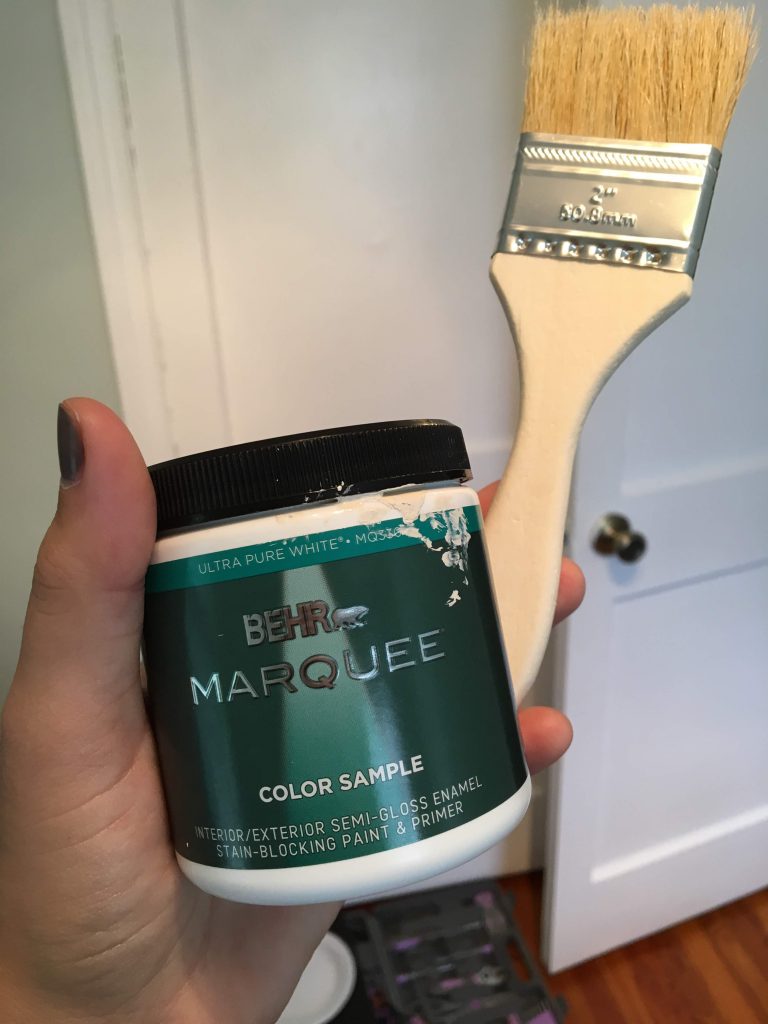
I chose to use semi-gloss paint. For surfaces that are touched/scuffed a lot, semi-gloss is your best bet because it is easier to clean. I also chose a shinier paint because I chose not to seal it with polyurethane afterward as I did in my other tutorial .
The key with drybrushing is to put as little paint as possible on your brush. You can always add more paint, but it is annoying to take it off. If you do need to take paint off, you can do so with a soapy rag before it dries. However, you’ll need to clean off the entire section or drawer.
Apply the paint in long brush strokes, working quickly to ensure that the paint isn’t patchy.
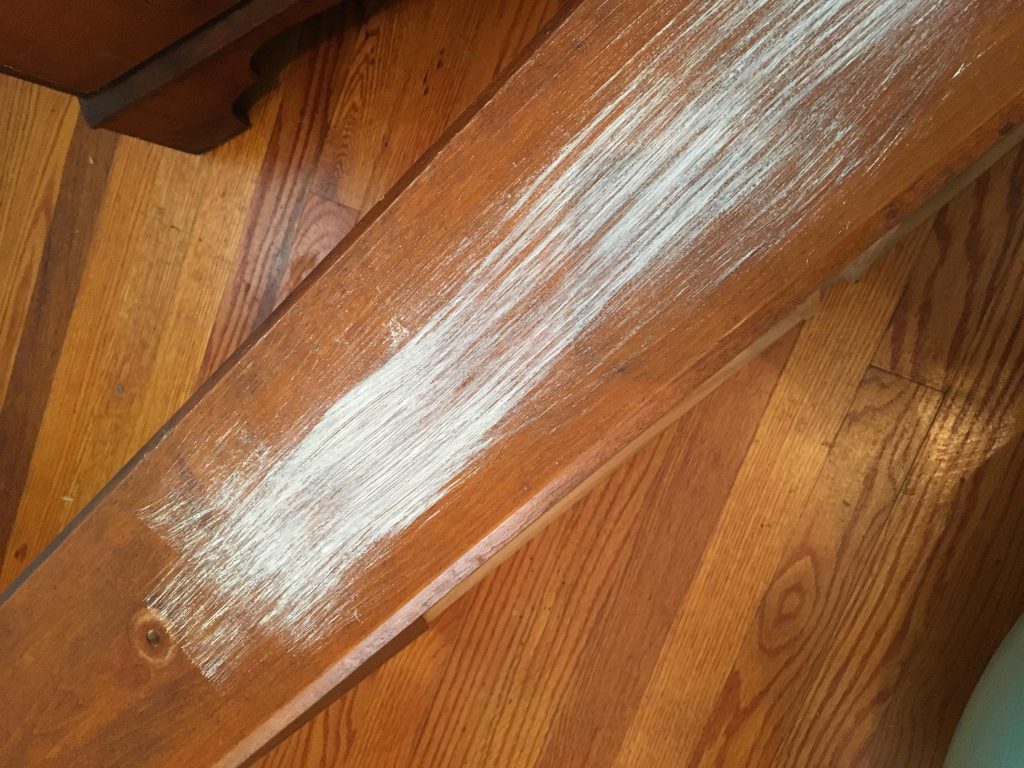
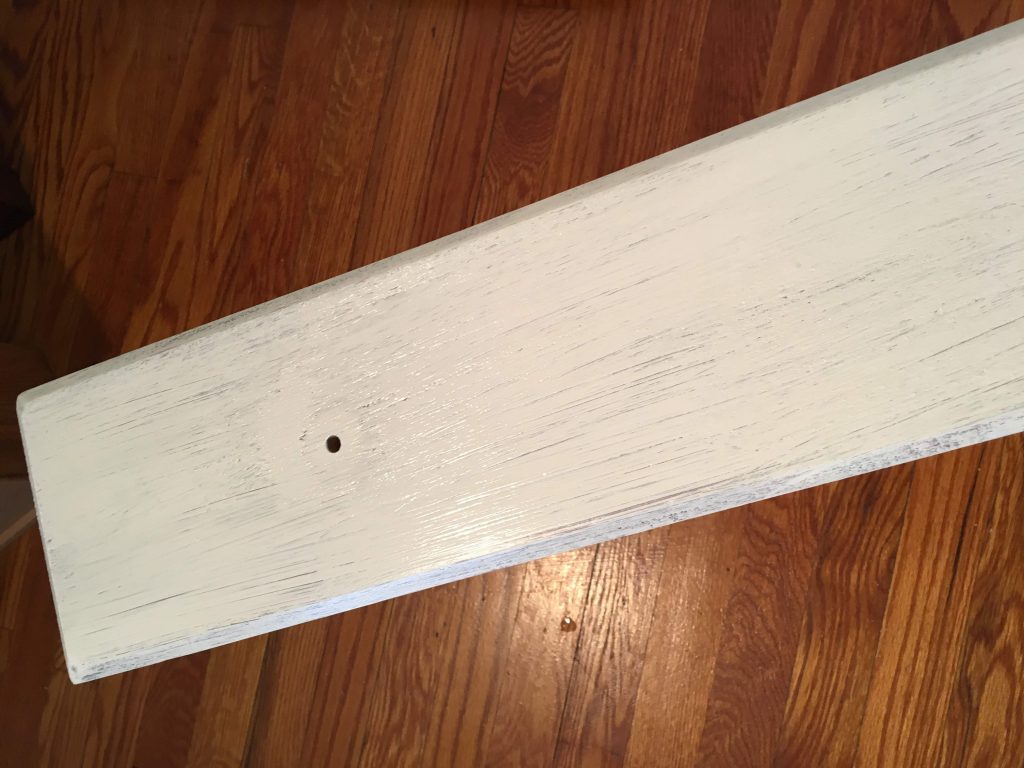
The fun thing about dry-brushing is you can choose to apply a very thin coat of paint…
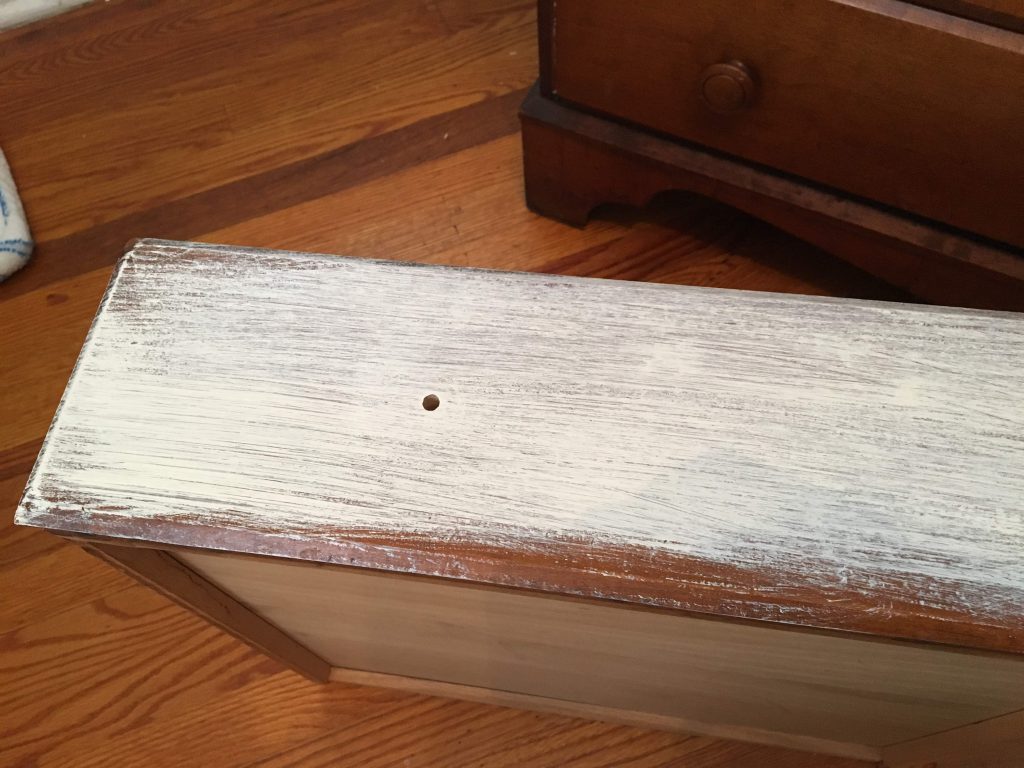
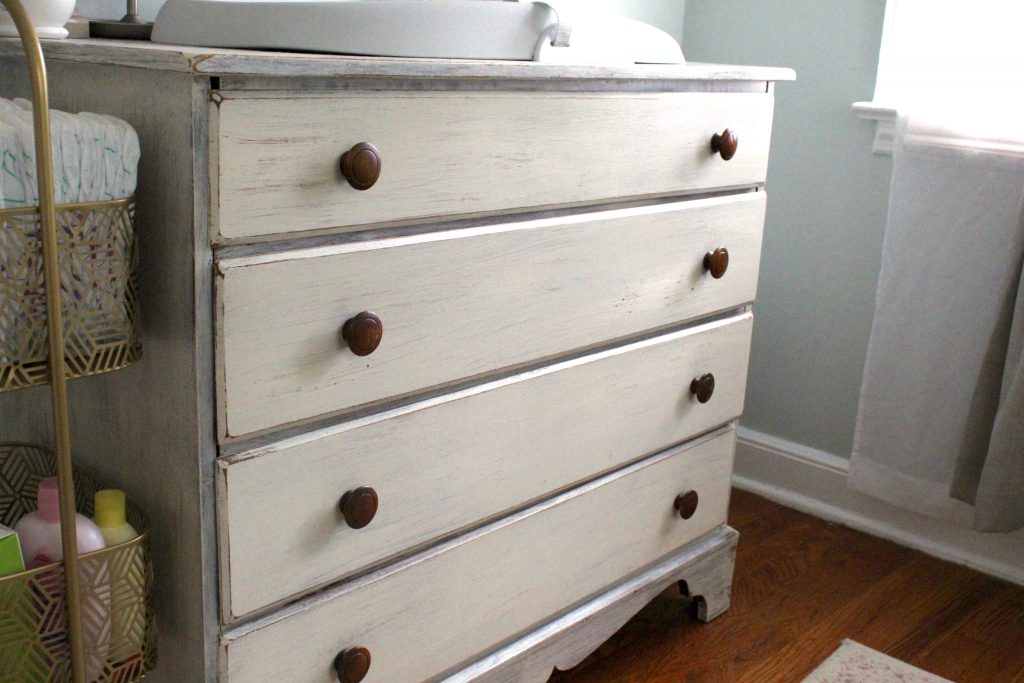
… or a much thicker coat of paint, as I chose to do. I wanted the drawers to appear mostly white with just a bit of the brown of the dresser peeking through.
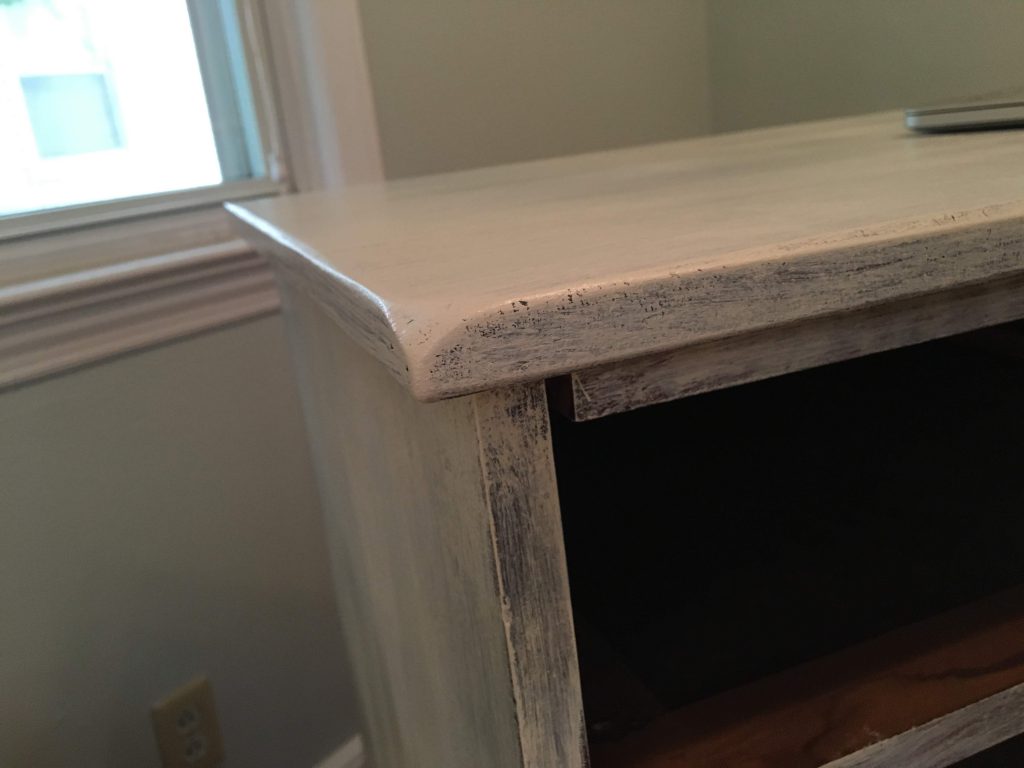
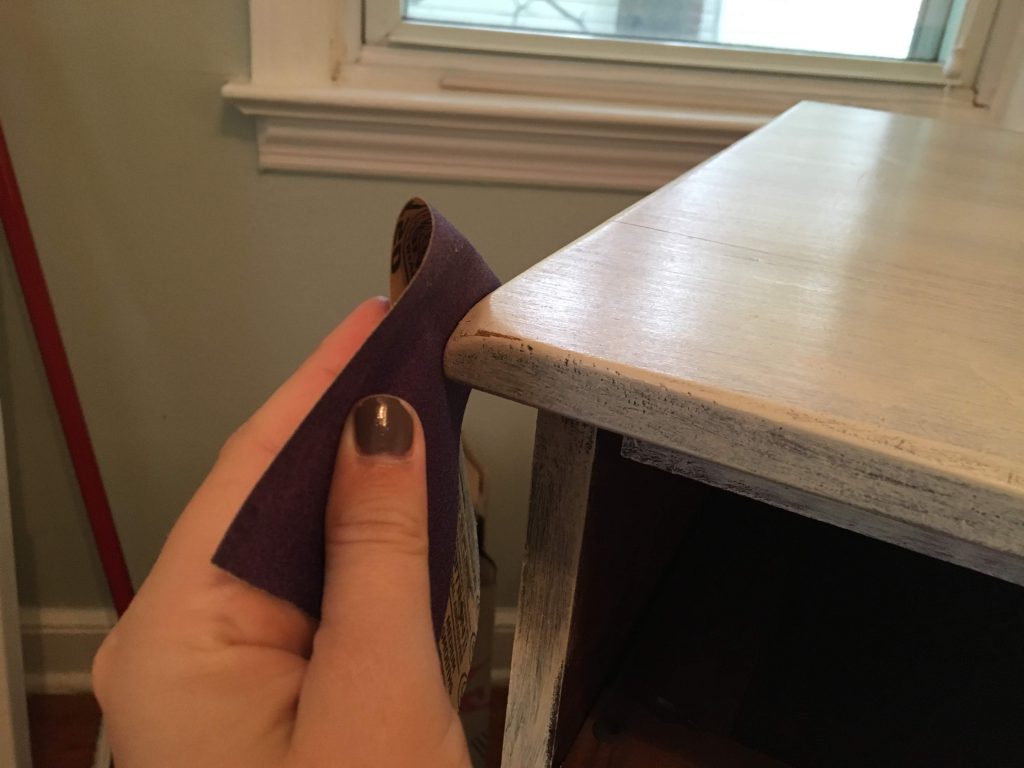
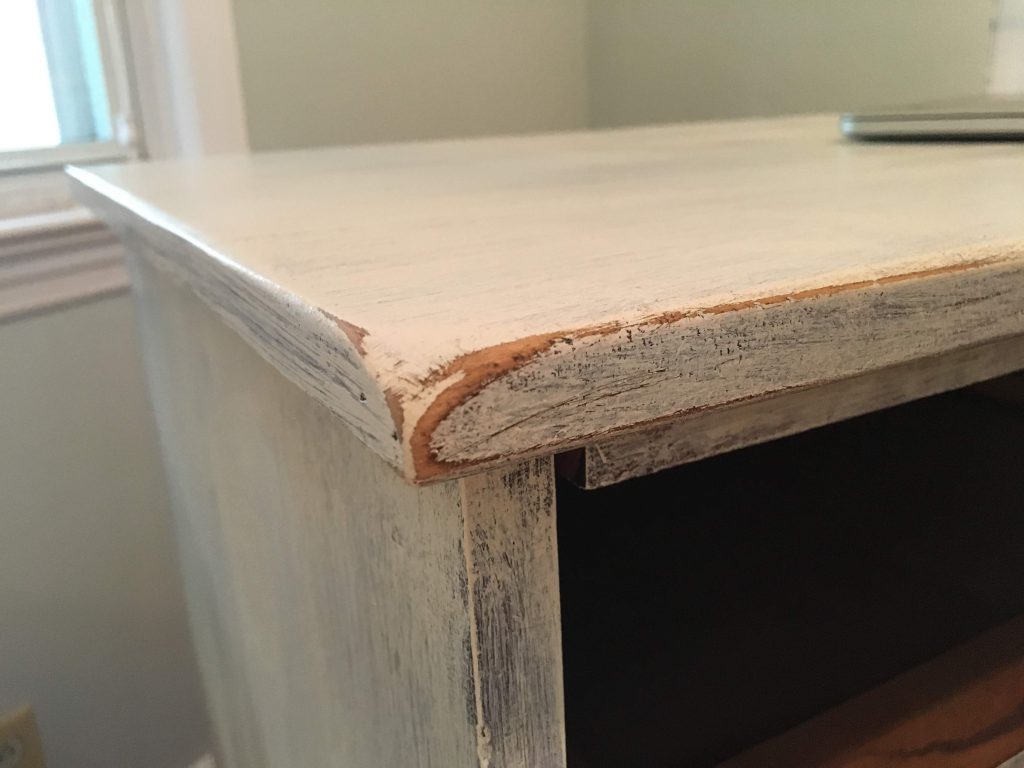
Sanding
After the dresser is painted and dried, if you desire a more distressed look, you can sand some of the paint away.
Take a medium-grit sandpaper and sand areas that have too much paint. I also like to sand parts of the furniture that naturally have more wear and tear, like the edges and corners.
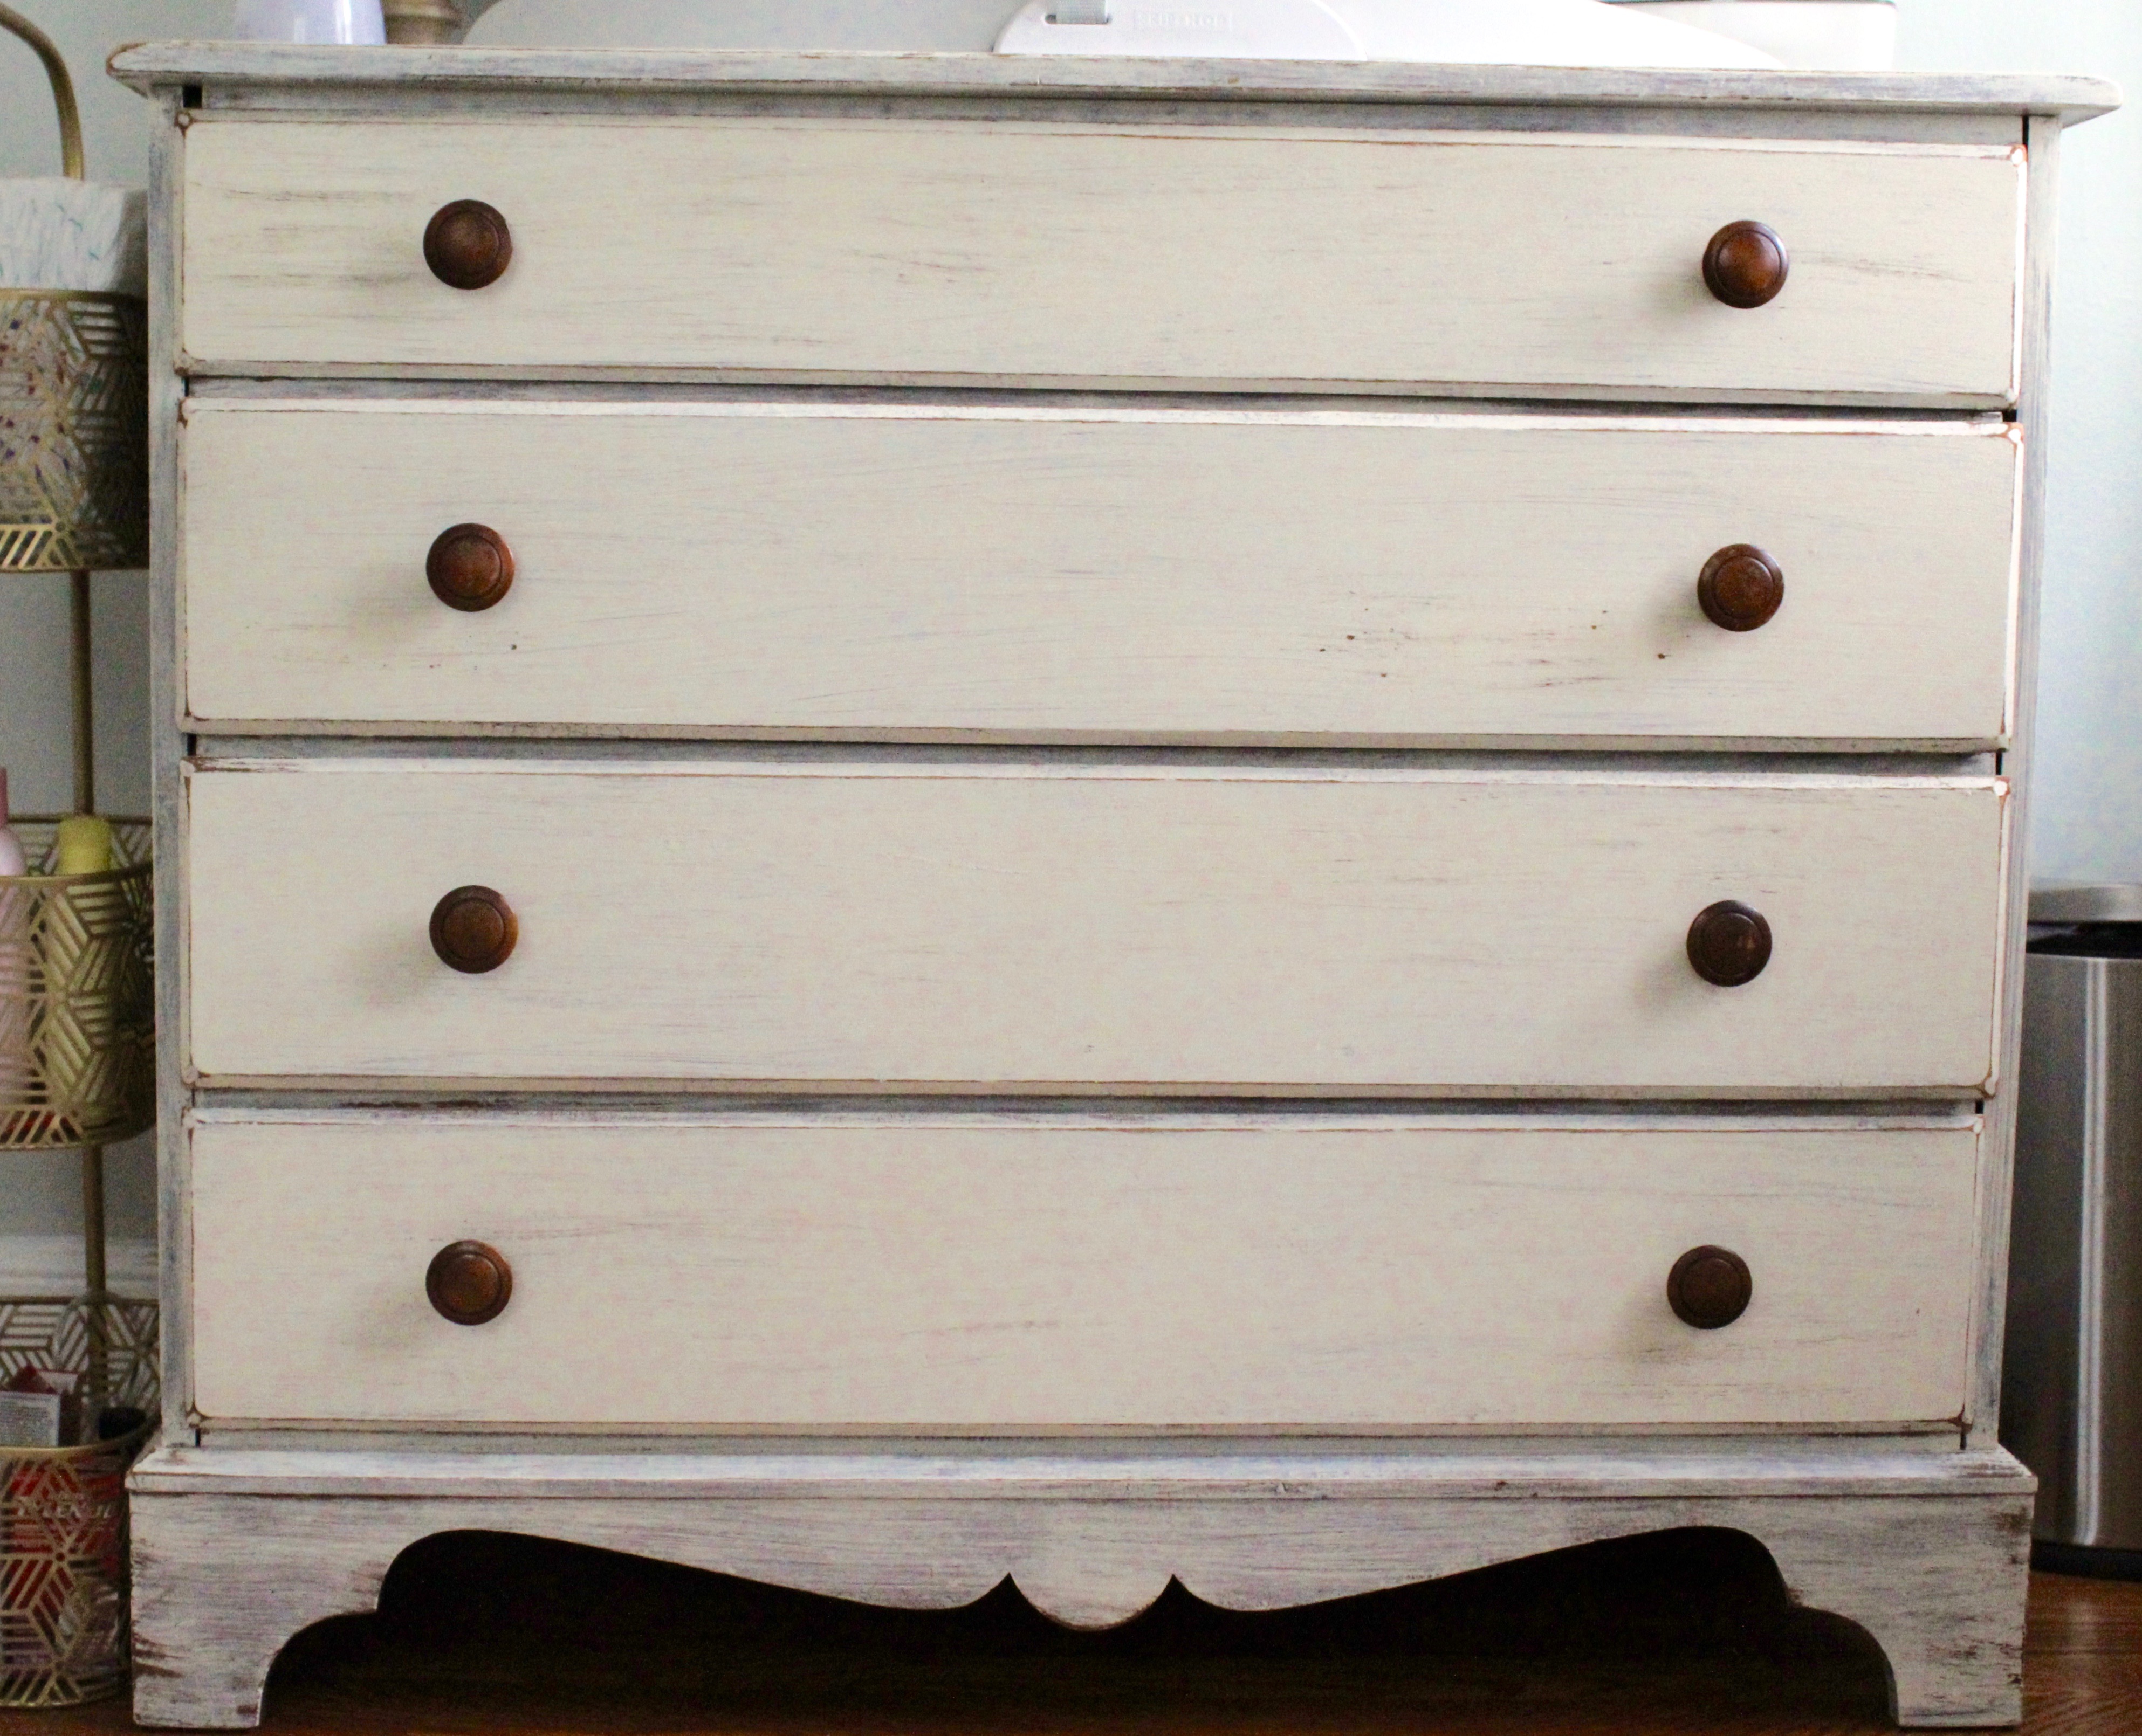
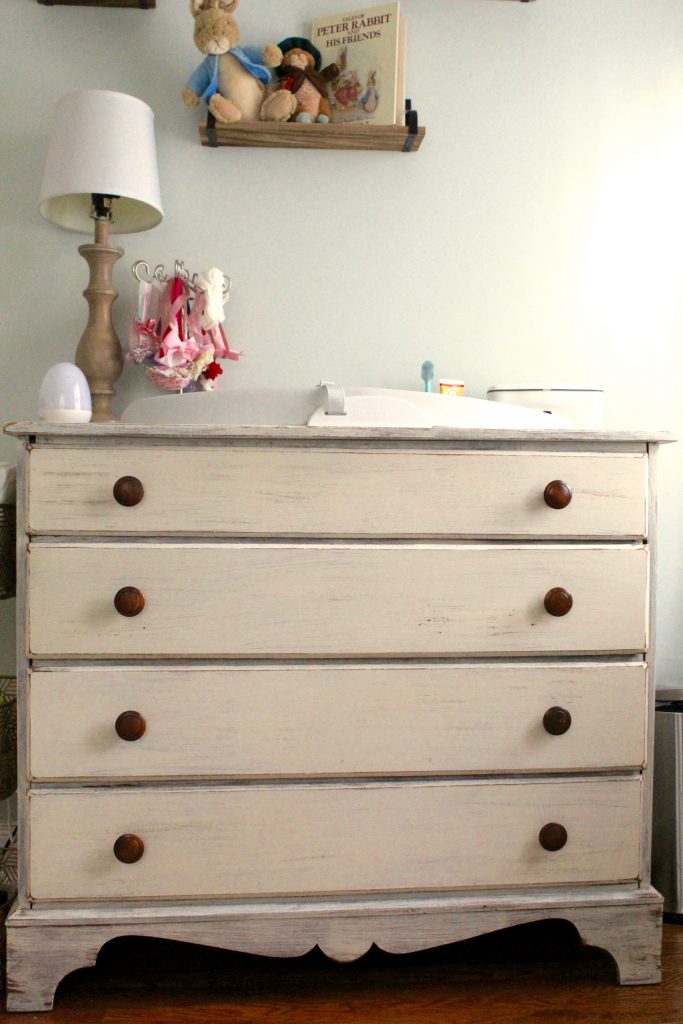
DIY Dresser Final Product Reveal
My favorite part of the blog post, the before and after!
To recap, this dresser took about 2 hours to paint. The longest part was cleaning it! Including the dresser, paint, and paintbrush, I spent $17 for a custom dresser for my daughter’s nursery.
If you want, you can buy different hardware to put on the dresser after it’s painted from home improvement or craft stores. I actually had different hardware, but decided I didn’t like it as much as the cute brown knobs that came on the dresser.
Here’s the before picture:
And, drumroll please…
Leave me a comment…
If you try this tutorial, or are thinking about doing your own DIY Dresser Makeover and have questions, please leave a comment! I love encouraging people everywhere to repurpose furniture.
You might also like: DIY Outdoor Couch


Wow I really love this dresser and how affordable it was for you to get the finished product! This has definitely inspired me to hunt for treasures rather than buy from the store.
I’m glad it was useful Akua! Let me know if you end up DIYing anything 😉