Disclosure: This post may include affiliate links through the Amazon affiliate program or other affiliate partnerships. If you click on a link and buy something, I may receive a commission, at no additional cost to you. You can read more boring disclosure details in my disclosure and privacy policy.
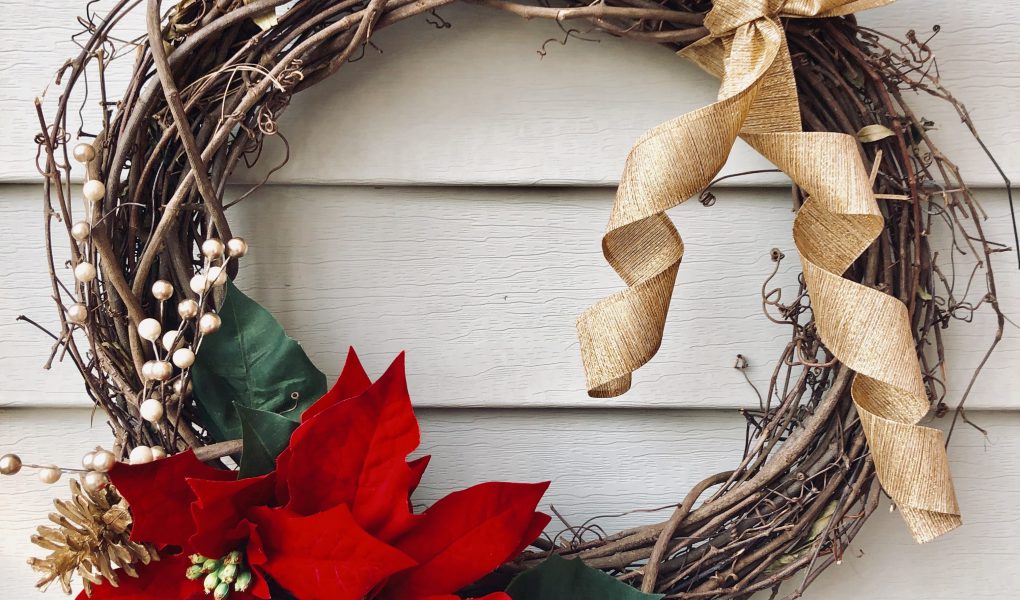
This Christmas Wreath makes me so happy to share with you all. I think it’s beautiful, classy, and best of all, will cost you way less than buying a wreath from a home goods store.
This Christmas wreath is also completely customizable. You can stick with traditional flowers, or choose funky Christmas patterns. Let the creative juices flow!
These Christmas wreaths make great gifts. They’re beautiful, and cheap to make. This is a handmade item that the recipient will actually want to keep around because it looks nice! But they will also thank you for taking the time to make something with them in mind 🙂
Now, let’s get started!
Christmas Wreath Materials
To prove to you that these wreaths actually are incredibly cheap (even cheaper than Christmas clearance), I’ve listed the price for each item as well as the materials.
Most craft stores like Hobby Lobby and Michaels have their Christmas items at 50% off starting in October. Then, you can use a coupon (available all year, via google) for 40% off one item.
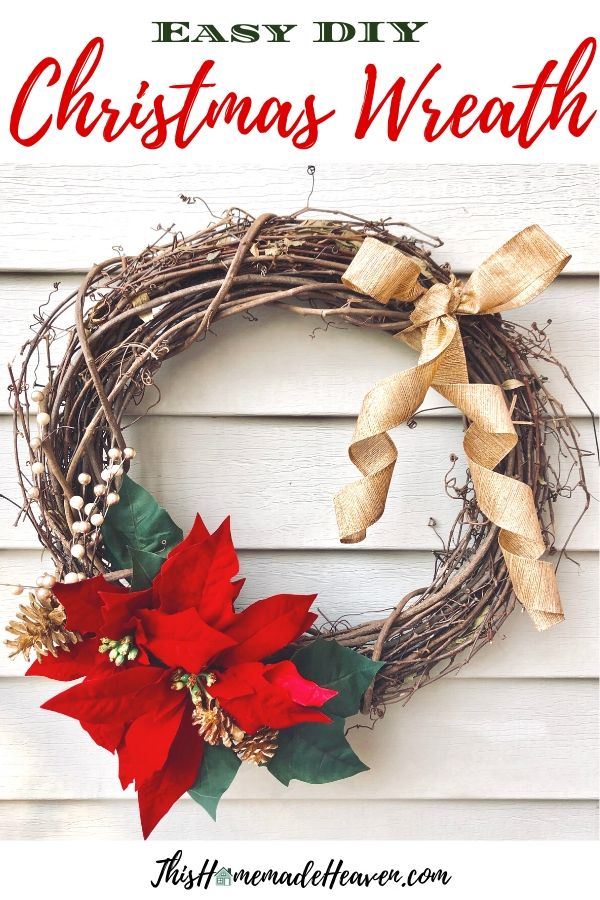
To make the exact wreath in the photo, you will need:
- Vine Wreath – $2.99 after coupon
- Two Poinsettia Flowers – 50 cents each when you buy a bunch of ten for $5
- Gold Pinecones – $0.50
- Gold Berries – $1
- Ribbon – $2.50
The gloriously cheap total cost for this Christmas wreath? $6 per wreath! You seriously can’t beat that.
Other materials you will need:
- Hot Glue Gun
- Wire cutters or strong scissors
- Scissors
- Floral Wire (can be found at Dollar tree)
You can make your wreath with whatever flowers or Christmassy items you choose. Go to your local craft store’s floral department and pick out a few items that you think look good together.
When choosing the decorations for the wreath, keep in mind that you’ll want to pick one main flower as your focal point. Also pick up some ribbon and smaller accent florals.
Making your Christmas Wreath
The first thing you will need to do to get started is to cut any stray stems off of your vine wreath. These things are straight from nature (I’ve even seen cobwebs in some in the store), so you have to help it be a bit more picturesque. Simply take your scissors and cut off any twigs that are straying away from the main circle.
Attaching your flowers and accents
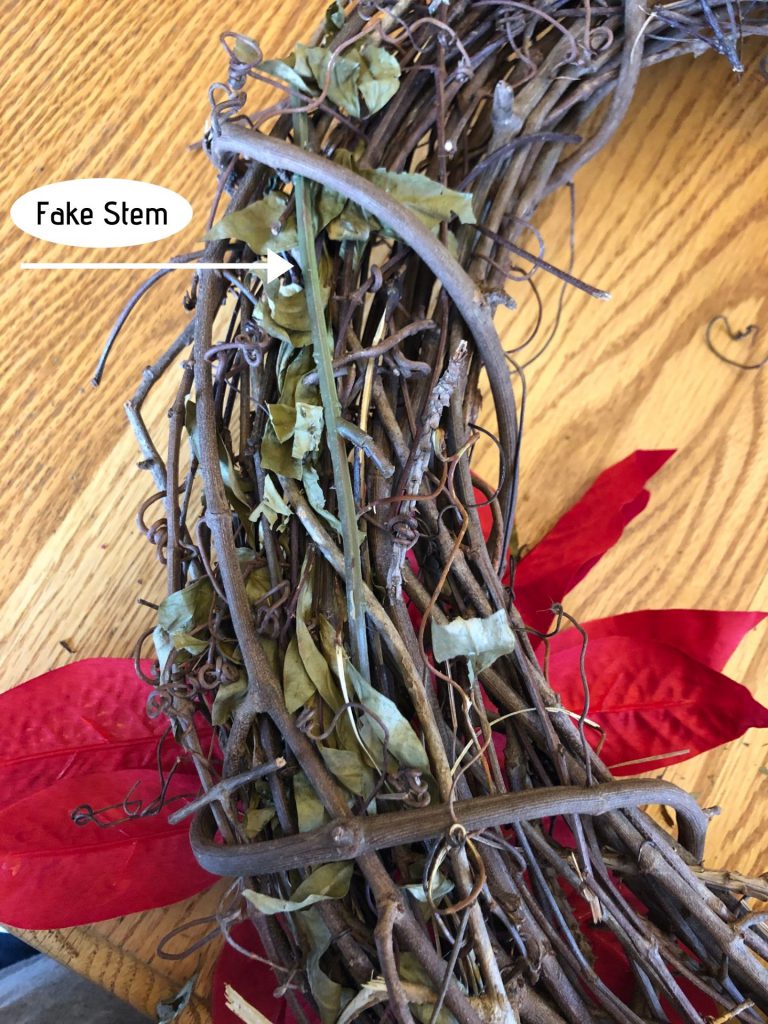
In the majority of cases, you’ll be able to weave the stem of your fake flower through the vines of the wreath until it is secure.
Simply cut the stem of the fake flower to about 4-5 inches in length using your wire cutters or scissors, then weave through the vines. It’s suprisingly secure, and the fake stem shouldn’t be noticable even if you turn the wreath over.
However, you may come across a flower that is difficult to weave into the fine, perhaps because it doesn’t have a long stem, or the flower isn’t laying flat on the wreath.
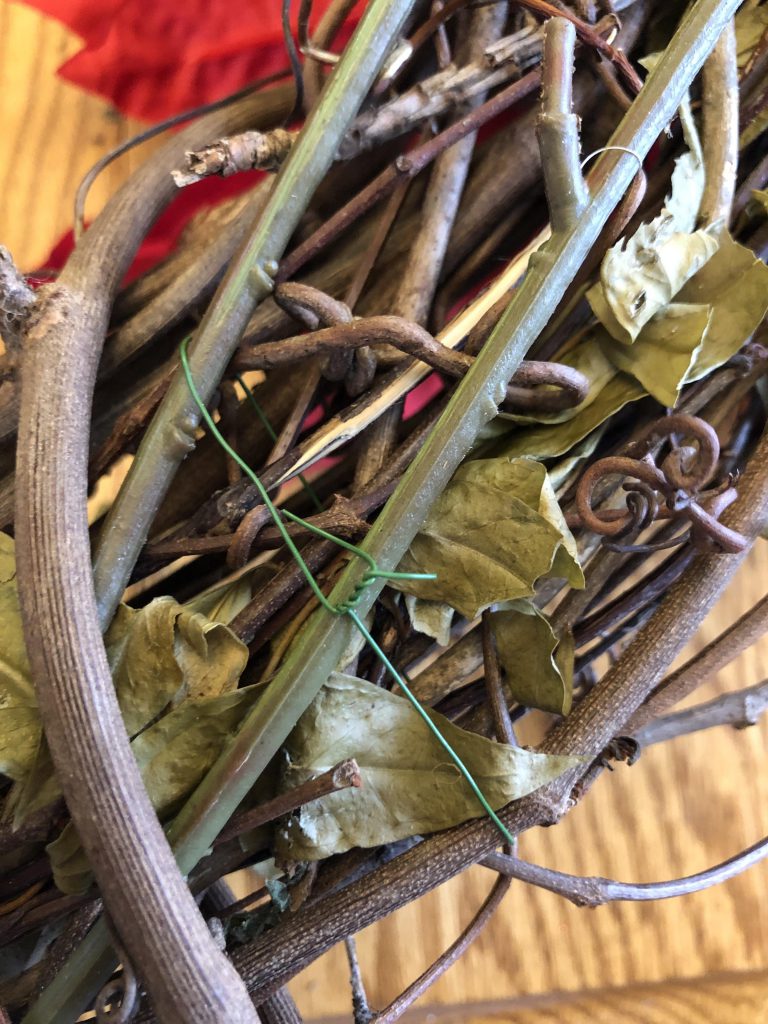
To solve this issue, you can use floral wire. Secure the flower by weaving one end of the wire through the vines to the other side. Strap the stem down or poke the wire through the flower itself with the other end. Weave the other end of the wire through the vines so that both ends are on the back side of the wreath, then twist together.
Now that your main flower is secure, you have the main focal point of the wreath. I chose to do two poinsettias as the focal point in this wreath.
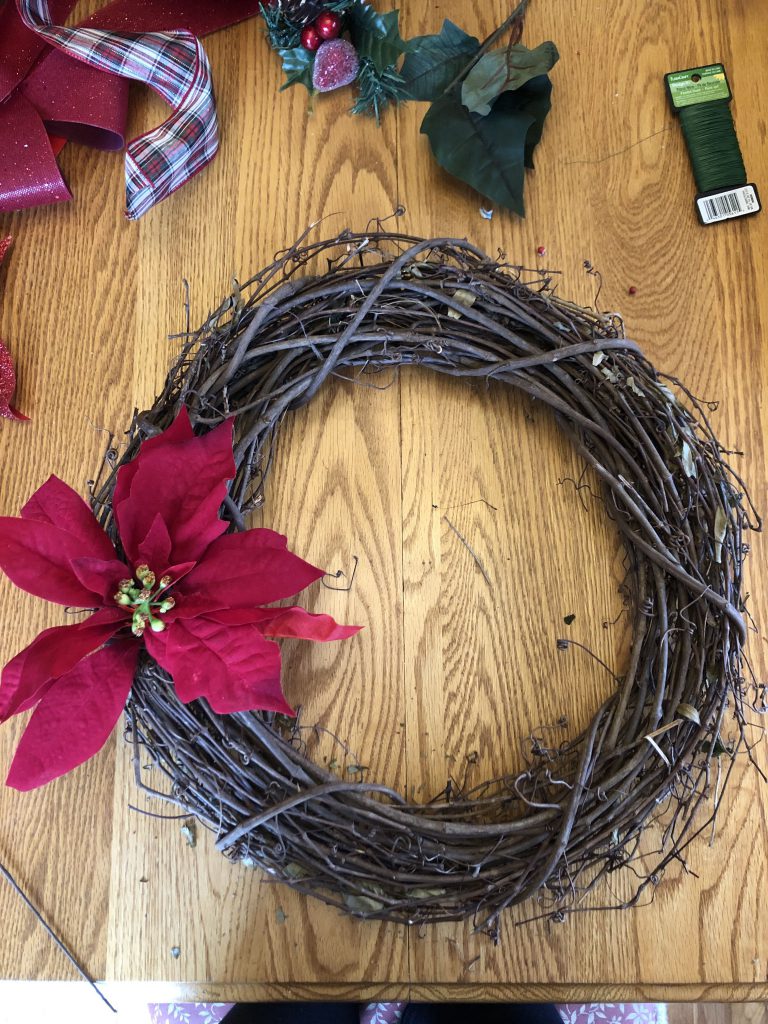
The next step is to add on your accent pieces in the same manner. Almost all floral decorative components come with a wire stem, so you should be able to weave them all through the wreath. The floral wire is only needed if the decoration feels insecure.
Hot gluing your leaves
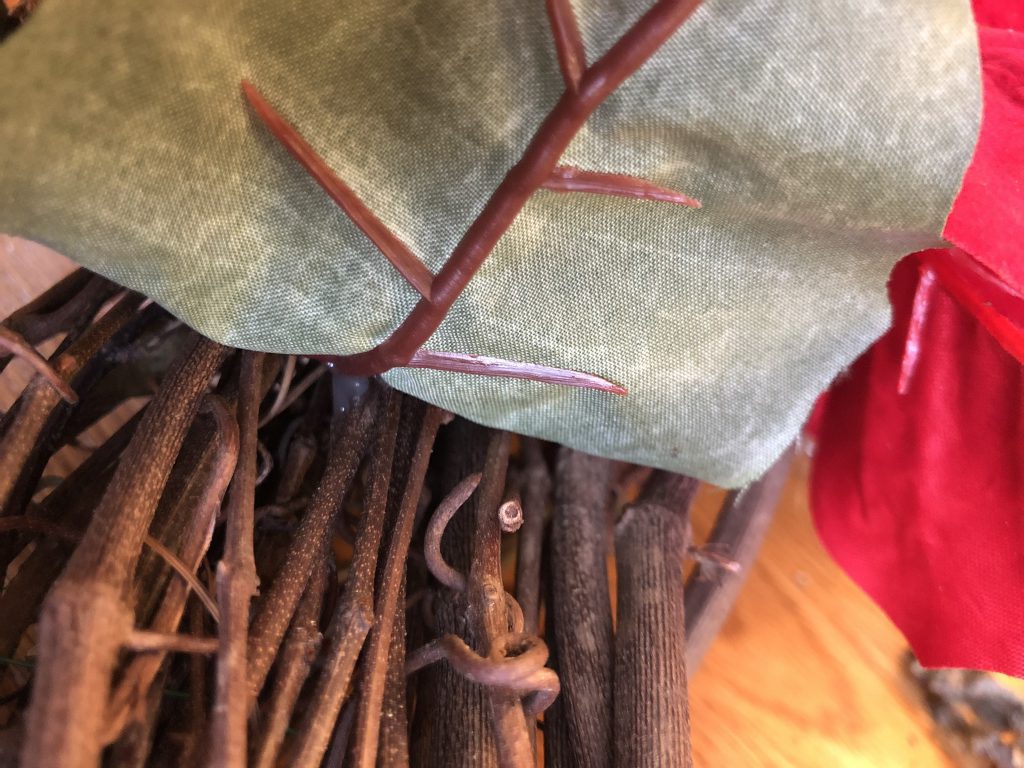
After the other components are on the wreath, I like to add on the leaves to fill in any empty space. I simply use the wreaths that come on the floral stem that I’ve bought. If you buy larger bunches of flowers, they come with even more leaves. Save these leaves for future wreaths and crafting projects!
I’ve found that the best way to secure the leaves is with good old-fashioned hot glue. Simply put a big glob on the stem of the flower and (carefully!) push it onto part of the vines.
Tying your ribbon
The last step, though completely optional, is to tie a ribbon opposite your main focal point. I find this balances out the wreath visually.
Be mindful that if you want a very stiff bow, or one that can be curled, you will need to use wire-edged ribbon. This is found in the floral section of the craft store, as opposed to the sewing section.
For the formal Christmas wreath look, made with my mother in mind, I went with the more tradional stiff bow. However, regular ribbons that are not stiff also look beautiful in their own way. You simply may have trouble getting the ends to do just what you want.
Enjoy your beautiful Christmas Wreath!
And just like that, you’re all set! Hang this wreath on your front door, or display it somewhere inside your home.
While making the wreath, a friend commented that they once heard if you want something in your house to be seen, put it in the bathroom. Because it’s the only room in the house where visitors always go! I find that hilarious.
While I personally wouldn’t hang a wreath in the bathroom, I won’t judge you if you do! Post a picture of your wreath in the comments below, or on instagram (please tag me!) and let me know where you choose to display it!
You may also like:

