Disclosure: This post may include affiliate links through the Amazon affiliate program or other affiliate partnerships. If you click on a link and buy something, I may receive a commission, at no additional cost to you. You can read more boring disclosure details in my disclosure and privacy policy.
This tutorial will show you how to make a beautiful, custom DIY picture ledge that won’t break the bank!
Do you know the best way to decorate a large wall? A gallery wall filled with wonderful sentimental pictures of your family. But do you know the truth about gallery walls? They’re extremely frustrating.
It’s true, gallery walls drive me crazy. My husband and I moved 4 times within our first 3 years of marriage, and I had multiple gallery walls in each home. I also have one in my living room at our new house!
However, what you don’t see behind the perfectly eclectic and asymmetrically organized pictures is the hours of work they take to perfect. The gallery in the picture above took me 6 or 7 hours between finding the layout and endless measuring, hammering, drilling, and leveling to hang the pictures.
I have since come to my senses and discovered a much easier way to fill a large wall with photos: A DIY picture ledge.
A DIY picture ledge is simple to build, and you only need to level and hang one object. After it’s done, simply arrange your frames on the ledge. It’s perfect for a commitment-phobe, because you can change out the frames or pictures as often as you’d like.
DIY picture ledge materials
For each picture ledge, you will need the following:
- 1 1×4 board
- 1 1×2 board
- 1 1×3 board
- 2.5 inch screws
- Sandpaper (I recommend this variety pack)
- Stain and foam brushes if desired
- Wood glue (I love liquid nails)
- Clamps (these are my favorite)
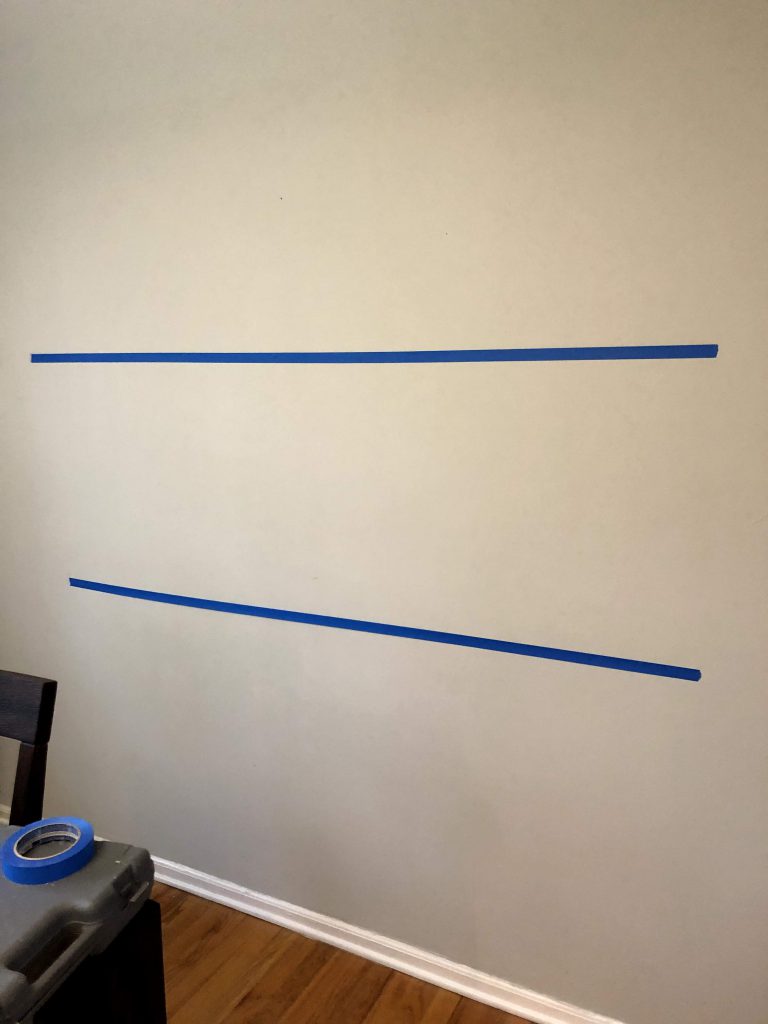
The length of the boards is totally up to you. Simply measure the space and determine what will work best; I recommend putting a line of painter’s tape on the wall to help you visualize length.
The type of wood you choose will also determine the cost for this project. If you choose common pine boards, you can get the wood for the entire picture ledge for about $10. If you choose a more expensive wood, such as oak, the project will cost more overall and will differ depending on length, as that kind of wood is priced by the foot.
The only power tool you need for this project is a drill. If you ask nicely, they will cut the wood for you at the store, so a saw is not required.
Building the DIY picture ledge
The first step in any woodworking project is to cut the wood to the desired length. As I said earlier, they will do this at the store for you if you’d like.
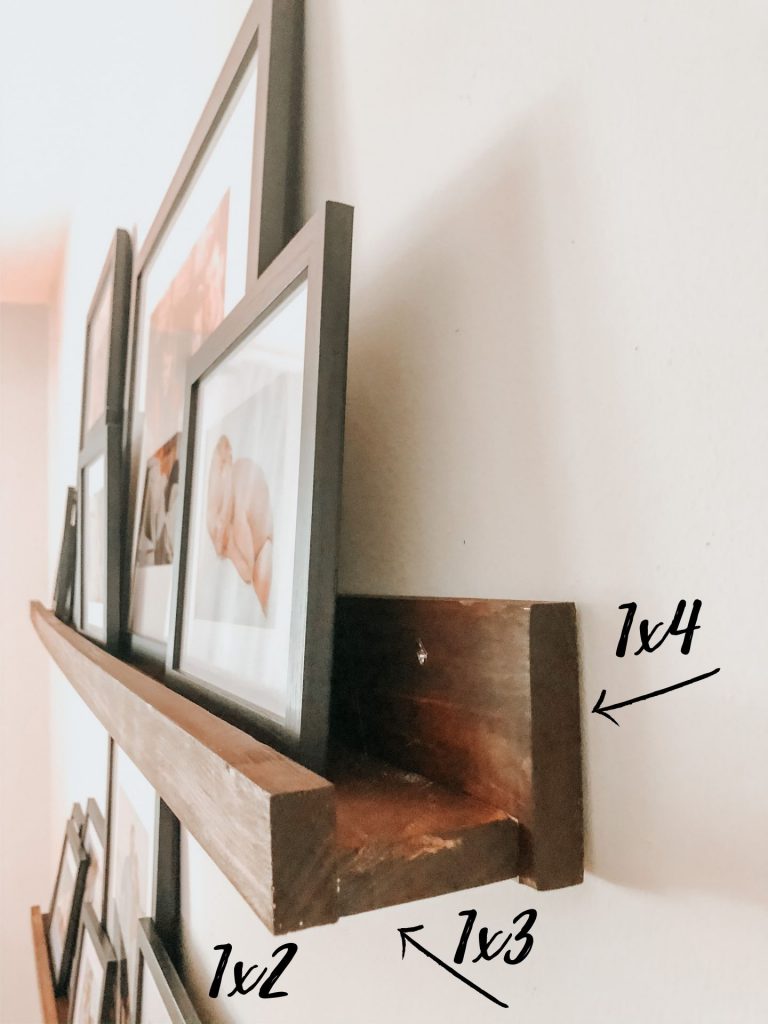
In this project, the 1×2 is the front ledge, the 1×3 is the base, and the 1×4 is the back of the picture ledge.
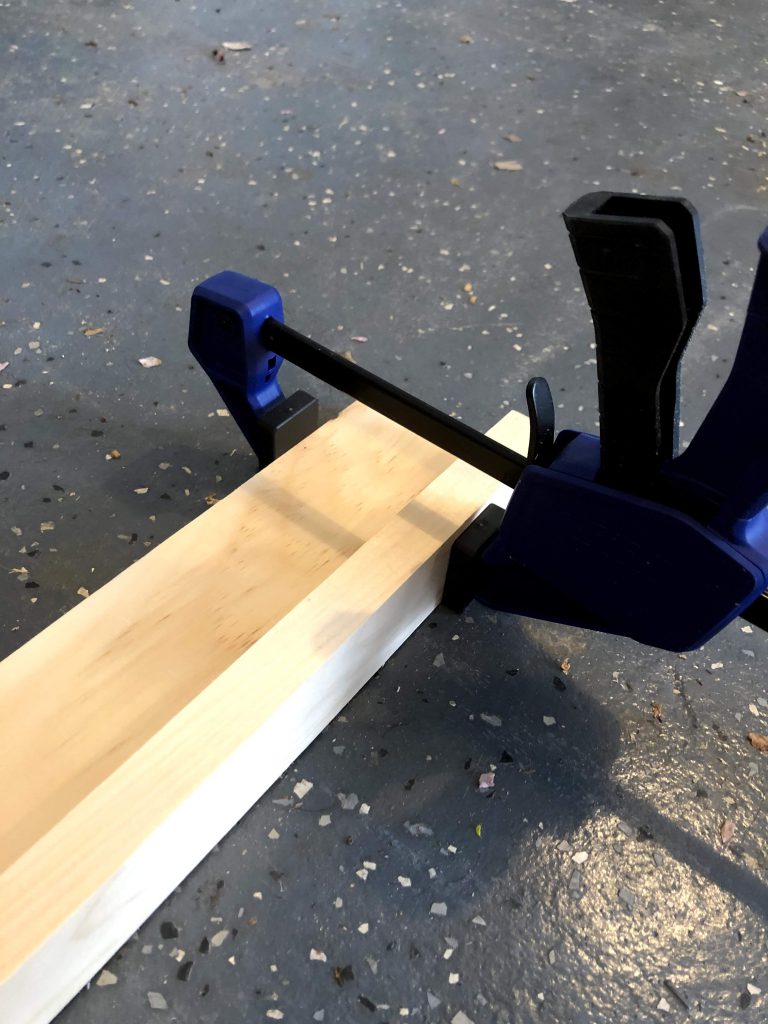
First, attach the 1×2 to the front edge of the 1×3 using wood glue. Be sure to wipe off any excess glue as dried glue will not hold stain. Secure the wood with clamps until it’s dry. You can also use wood glue and nails rather than clamps, but then you will be able to see nails on the front of the ledge. I prefer a more seamless look.
After the glue has dried, screw the 1×4 to the back edge of the 1×3. If you are using a soft-wood like pine, you won’t need to predrill.
Finally, sand everything down with an orbital sander to get rid of any rough edges or writing on the boards. Start with medium-grit sandpaper (~120), then finish with fine-grit sandpaper (~220) for a very smooth finish.
And that’s it! Incredibly simple, right?
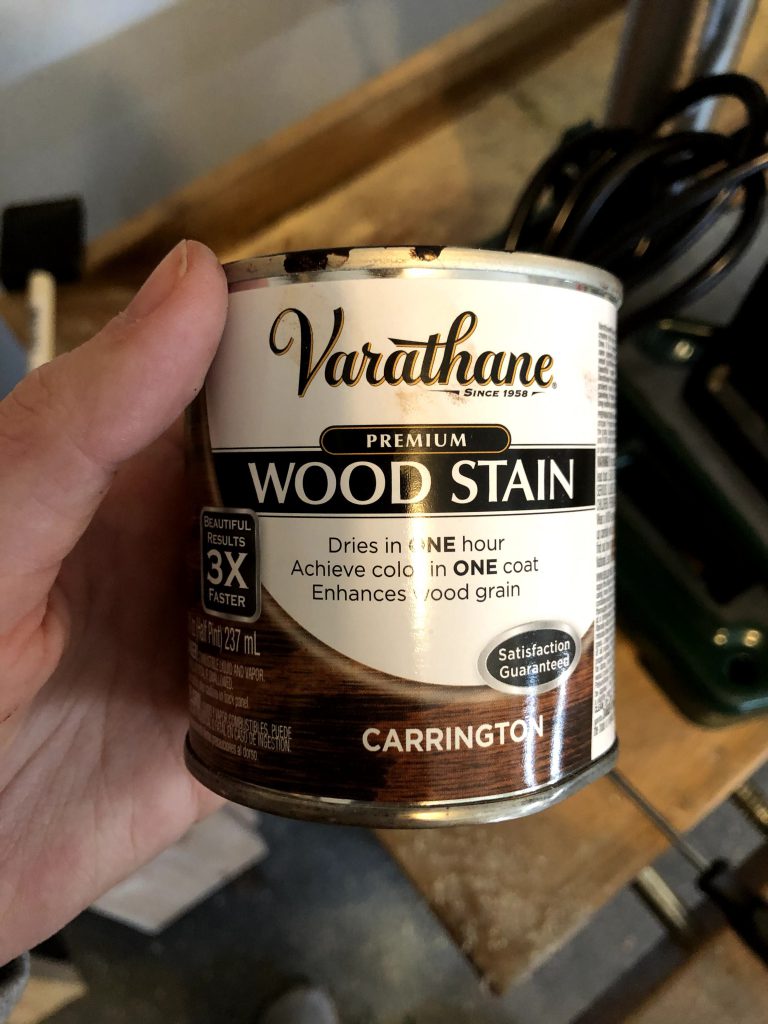
If you want to stain your wood, now is the time. In my home I have one that isn’t stained and two that are; it is a personal preference! Simply brush on one coat, and wipe off, working in small sections and always with a wet edge. Use a foam brush to avoid bubbles in the stain. If you follow the instructions on the can, you’ll be just fine!
If you want to see short video explanations, be sure to look at the “picture ledge” story highlight on my Instagram.
Attaching the picture ledge to the wall
First, use painter’s tape to visually mark where you want the ledge to go.
Once you’re happy with the positioning of the tape, find the studs along the wall. The stud finder app on the iPhone actually works very well for this. Mark the studs just above the painter’s tape where you will hang the ledge.
If you can’t find any studs, it’s possible to use heavy-duty anchors. However, finding the stud is ideal because the ledges can get quite heavy with the weight of the pictures.
For this next step, you’ll definitely need two people. Have your partner hold the picture ledge up on the wall in front of the tape with a level resting on top. While they hold it up, keeping it level, screw through the wood into the stud behind the wall where you marked them earlier. If you are using a hardwood like oak, you will need to pre-drill these holes into the ledge.
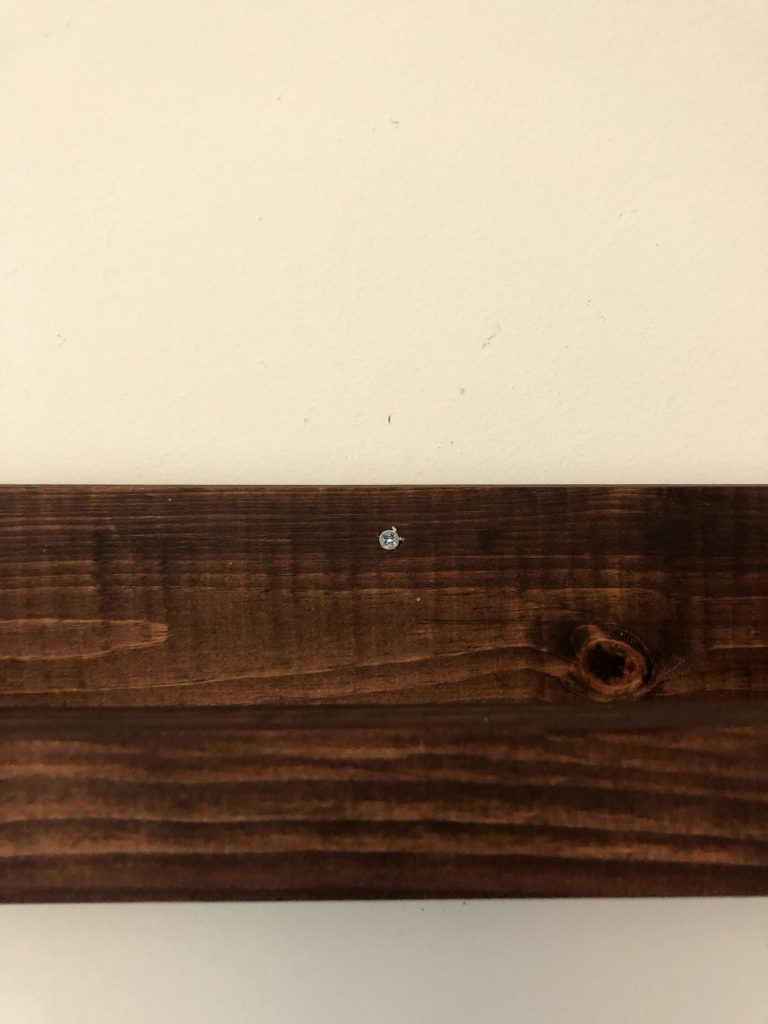
Don’t worry about these screws being visible; they’ll be covered up by a picture later on!
Decorating the picture ledge
As far as decoration goes, this is mostly personal preference. However, I definitely think some methods look better than others.
In general, try to stay away from small frames (5x7s or 4x6s). It’s ok to have one or two smaller frames, but if the entire picture ledge is only small frames it can look cluttered. If you are trying to take up a lot of visual wall space, smaller frame sizes will be dwarfed by the large wall. In general, stick to 8x10s, 11x14s, and 16x20s.
For large frames, I have found that Ikea and Michaels (with sales and coupons) have the best deals. At the time of this post, Kohl’s has some good collections of gallery frames (I recently got a set of 10 for $27). Target also makes some beautiful frames, but they are actually kind of expensive at around $30 per frame. I don’t like to break the bank on the frames alone!
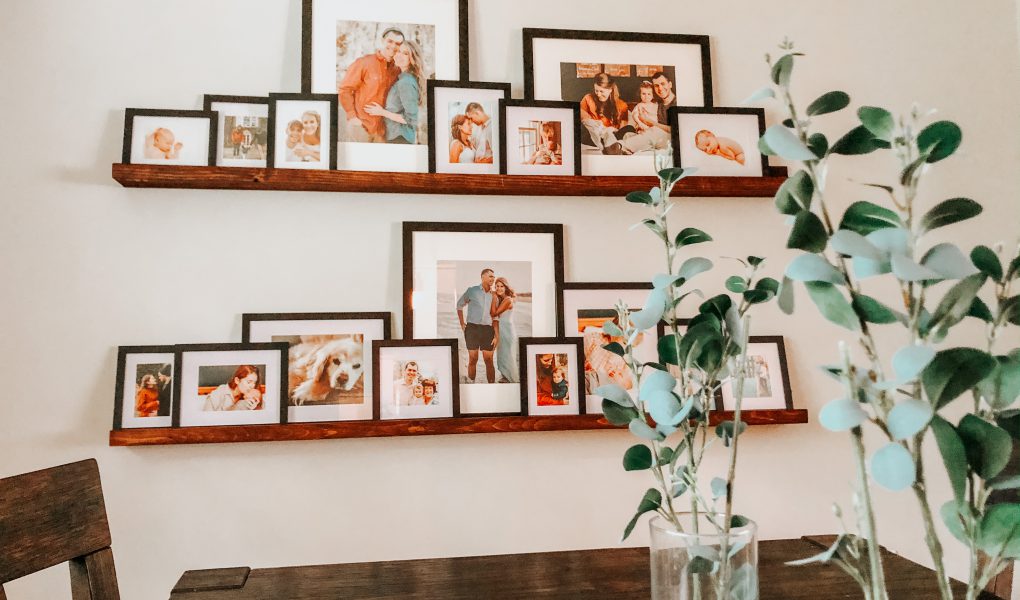
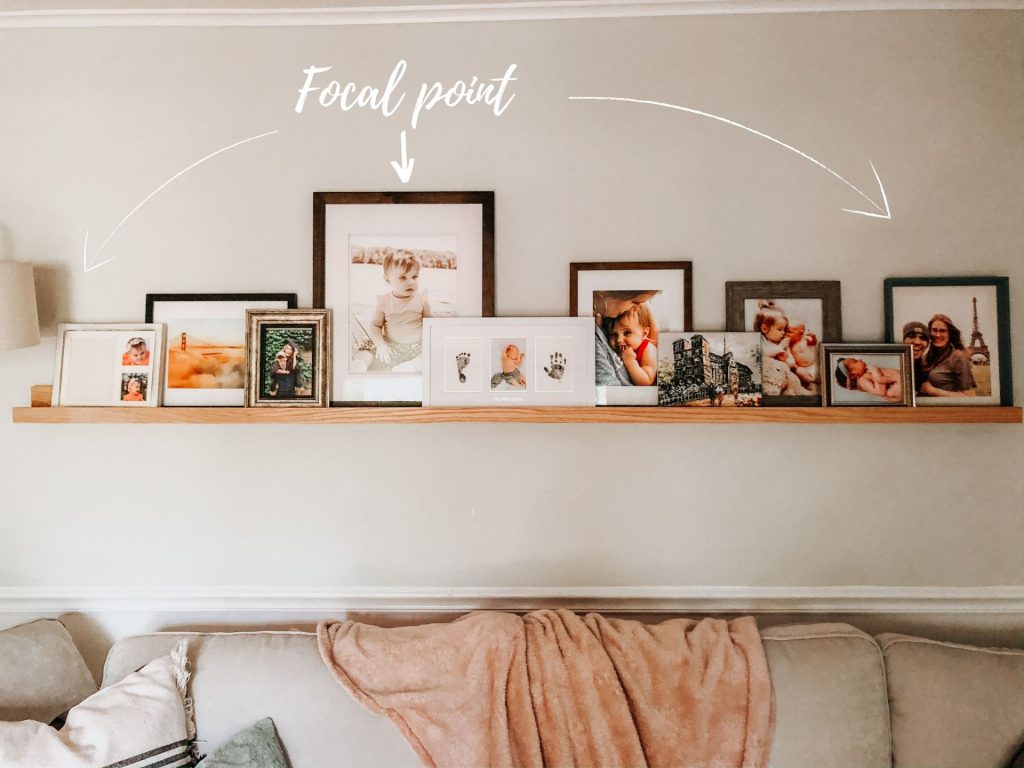
For each ledge, keep in mind that you will want to have one frame bigger than all the others to serve as a focal point. The other pictures should generally ark downward from the largest photo. Play around with it until you’re happy!
Eclectic vs consistent picture ledges
When choosing your frames and photos, you can take one of two paths: Try to make everything look the same, or go for a more eclectic look. I have done both in my home.
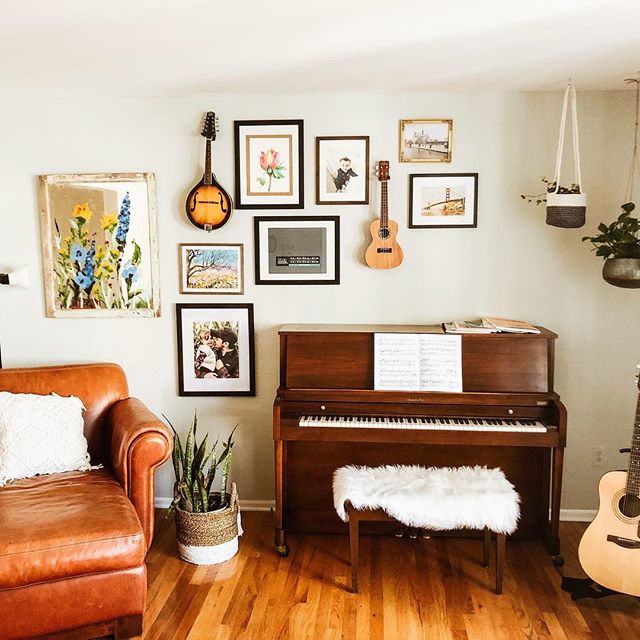
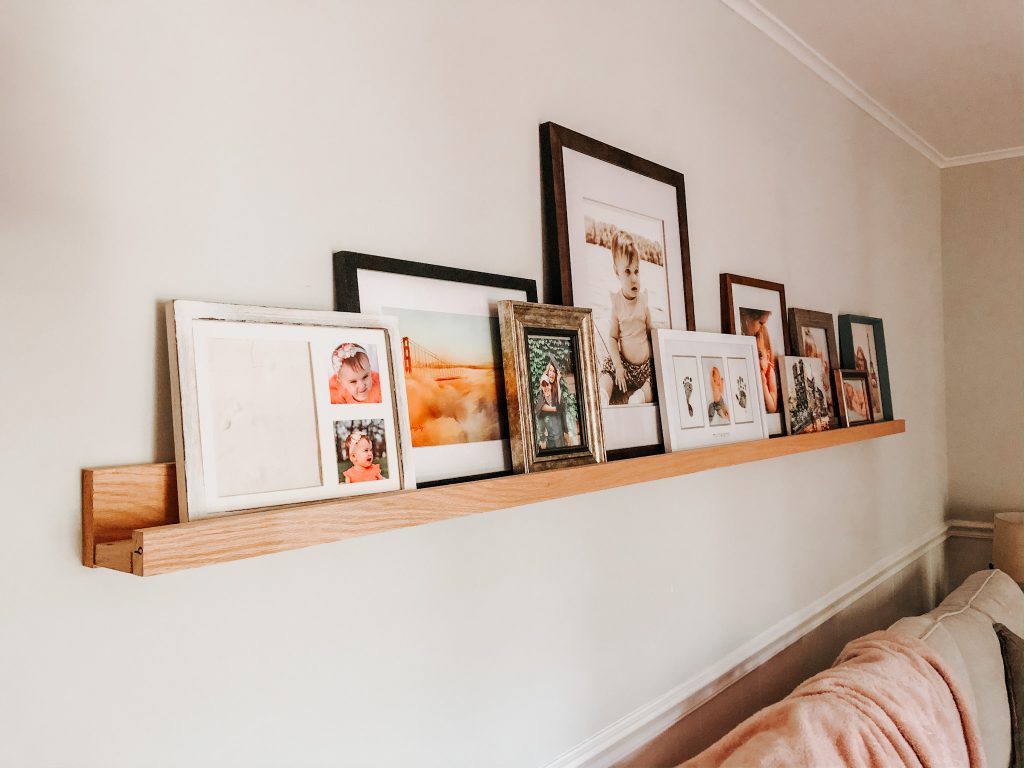
The more eclectic picture ledge is in my family room. It is a mix of art and family photos, and no one picture frame matches another. If you chose to go the eclectic route, I’d say to be sure you have a good mix of artwork, matted and non-matted frames, and wood finishes. It will look odd if you only have one piece of art, for example, or one frame with a mat and all the others without.
The eclectic look is a bit more homey and cozy, but also runs the risk of looking cluttered.
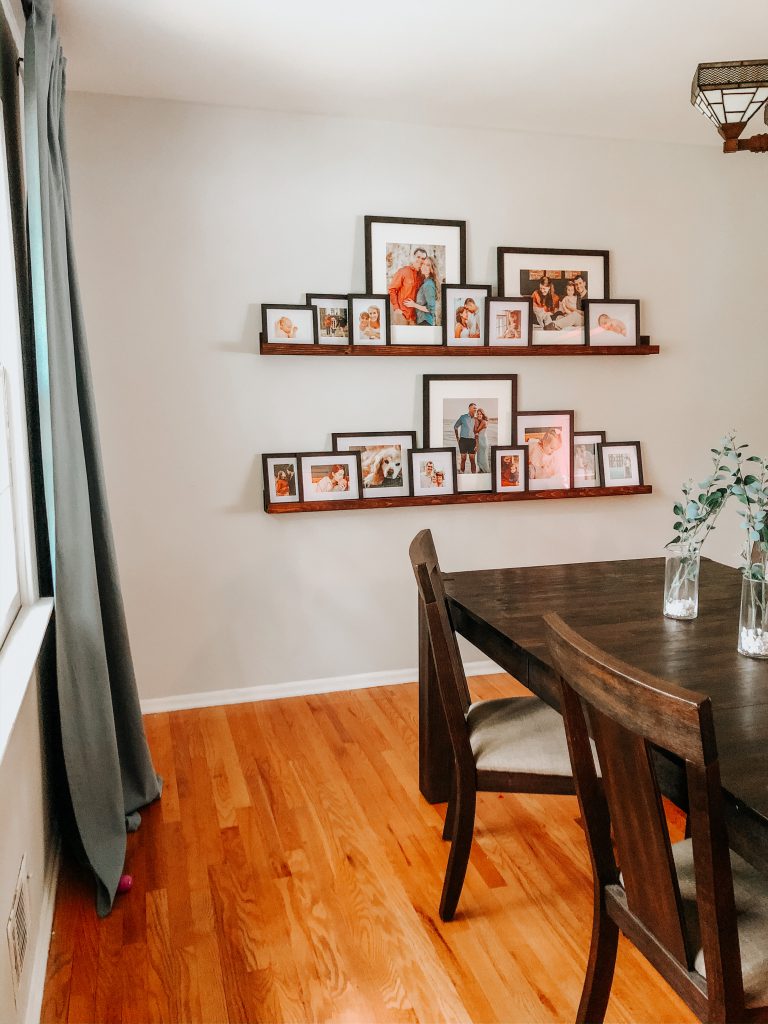
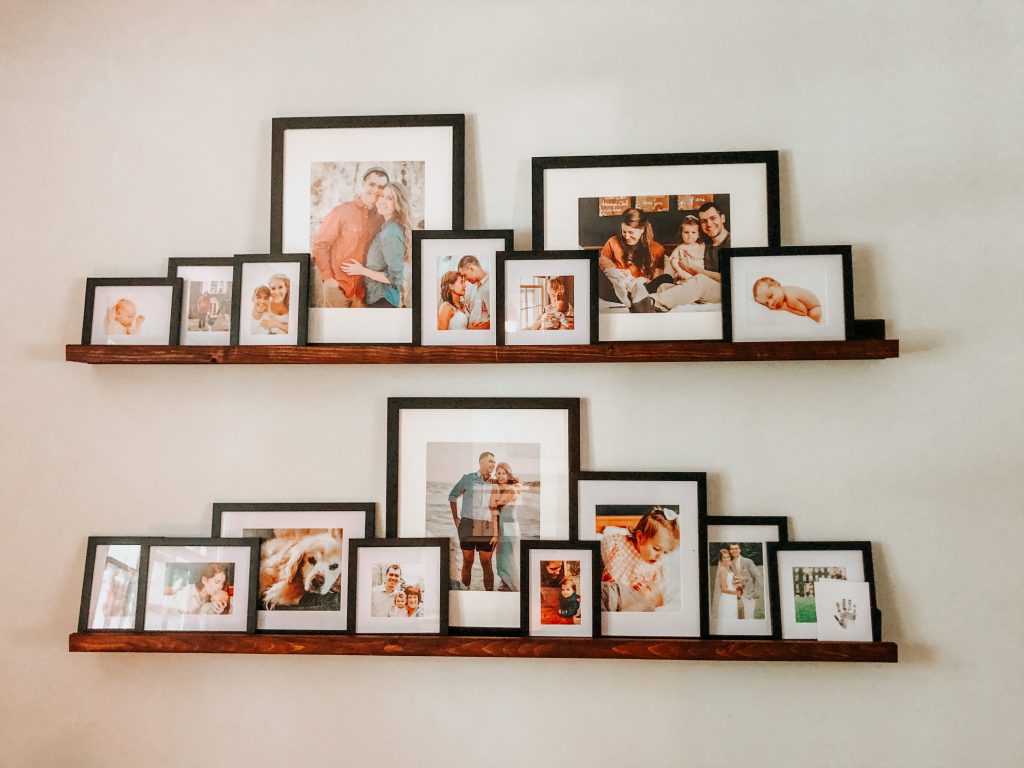
In my dining room, I chose to take a different approach, because I have two picture ledges hanging rather than one. Here, I chose to use frames of different sizes, but they are the same molding, color, and all matted.
The pictures themselves can also be edited so that they all look similar visually. The easiest way to do this, unless you are a photographer, is to use a preset. You can buy editing presets for as cheap as $2 each on Etsy for Lightroom mobile (a free iPhone app). This will give everything a very clean, put-together look. If you’re unsure about using a preset, when in doubt, print all of the pictures in black and white.
Final thoughts…
The picture ledge doesn’t have to be only for pictures. You can also display small vases, special cutting boards, sentimental items, or anything else that will fit.
The DIY picture ledge is a very cost-effective, high-impact way to decorate your space. The ledges in my dining room cost me less than $20 for all of the materials! It is also a very beginner-friendly DIY project that can be done in one afternoon.
There are few things better than personally creating something for your own home. Display it proudly!